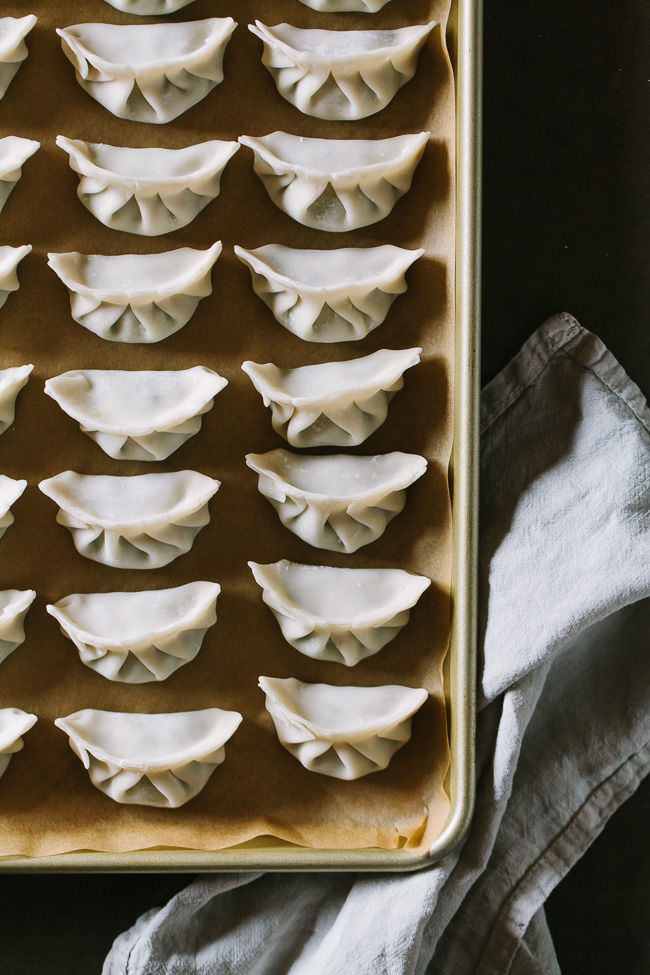
With the Lunar New Year being just around the corner, a good Chinese dumpling recipe seems celebratory and festive. It’s traditional to serve dumplings on Chinese New Year’s Eve, and I like making an extra large batch to keep in the freezer for the coming weeks. Frozen dumpling are great to have on hand for last minute meals and they can be boiled, steamed, and pan-fried straight from the freezer.
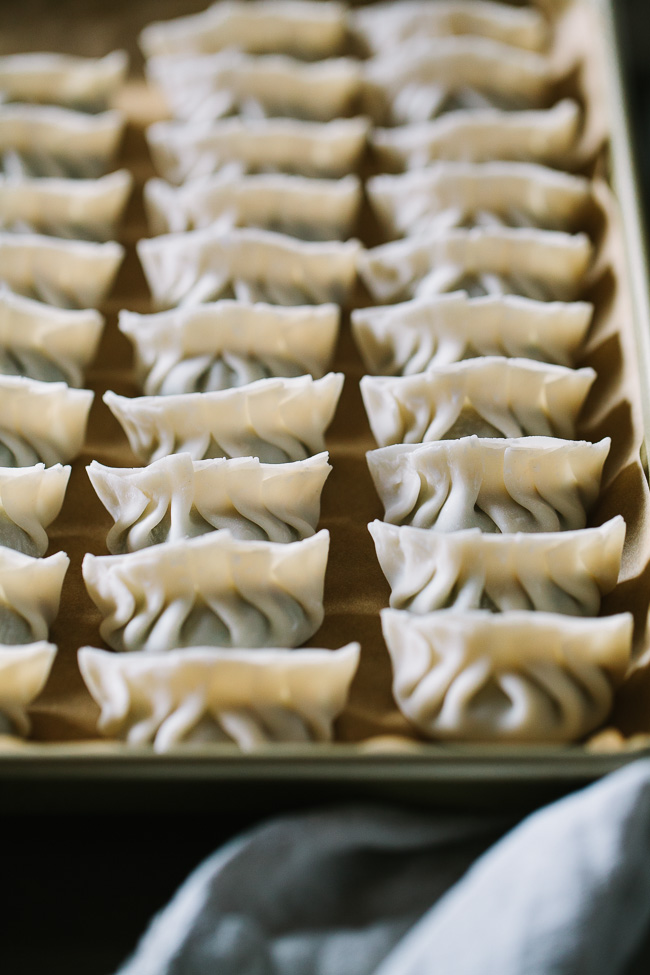
Learning to properly wrap dumplings can be intimidating if you haven’t done it before, so I took some step-by-step photos to hopefully demystify the process a bit. These are store-bought dumpling wrappers, available in the refrigerated section of any Asian grocery store. Homemade dumpling wrappers are special but making the dough and rolling them out does add some extra steps. Since I usually make these in large batches, store-bought wrappers make the project much more manageable. Even with store-bought wrappers, assembling dumplings is a process and takes time, but it makes for a peaceful afternoon or is also a fun activity to do with a friend. (or with the kids!)
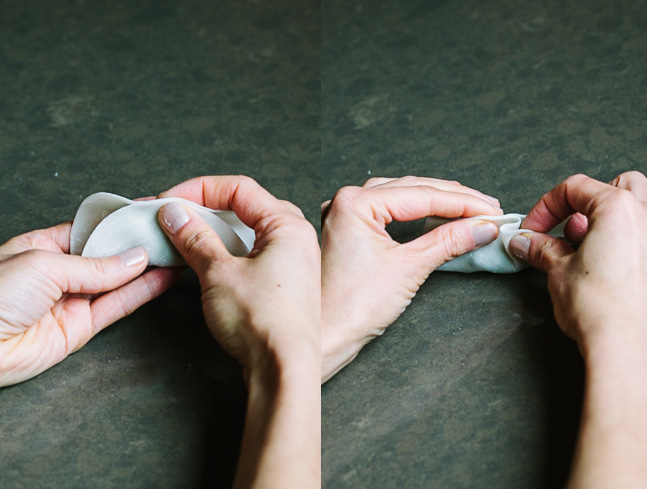
Lightly brush the edges of the wrapper with water to help the wrapper stick together. Fold in half to form a half-circle and pinch the center together. While pinching the center of the seam, use your thumb and index finger to make a pleat towards the center.
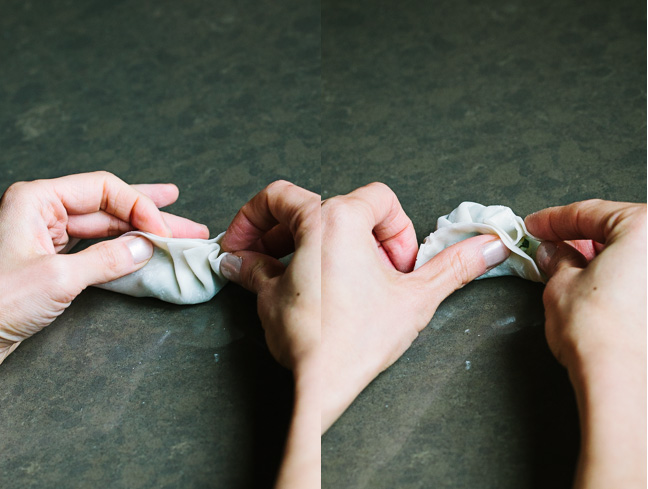
Make 3-4 pleats down the right side of the dumpling, giving a gentle pinch with each pleat. Only the top layer should be used for pleating, the bottom layer should remain smooth. Repeat the process on the left side of the dumpling.
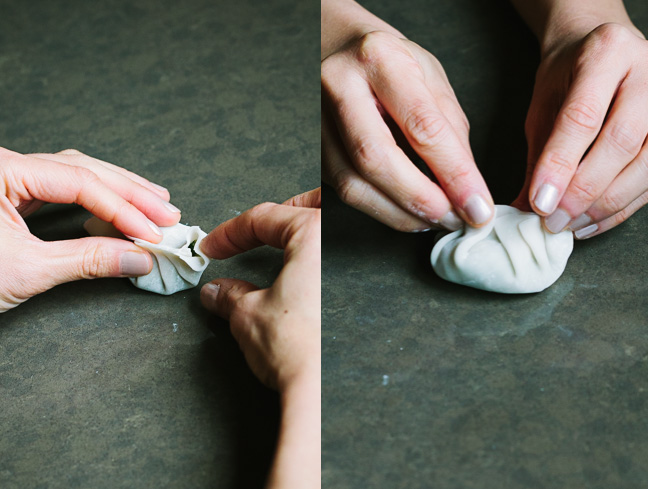
Dip fingertips in water and lightly pinch the seam together to ensure a good seal. Done!
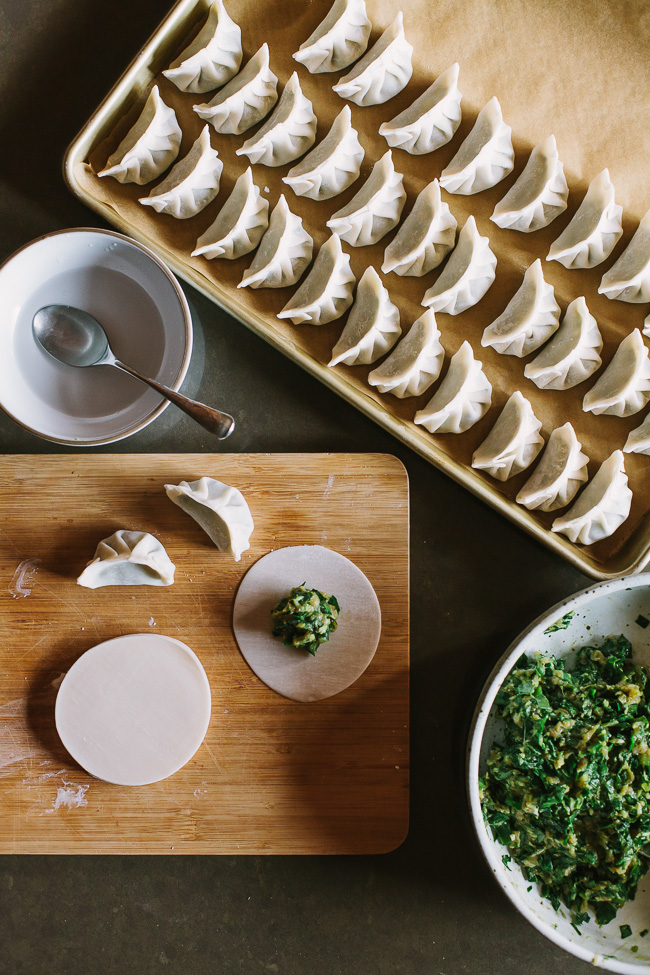
I tend to keep my dumplings vegetable heavy, and it’s always nice to see my kids love their vegetables. There’s a lot of flexibility here so experiment with swapping in other types of meat and vegetables. Napa cabbage is a classic for dumplings and chicken would do nicely here too. We like these best pan-fried, but boiled and steamed are good as well.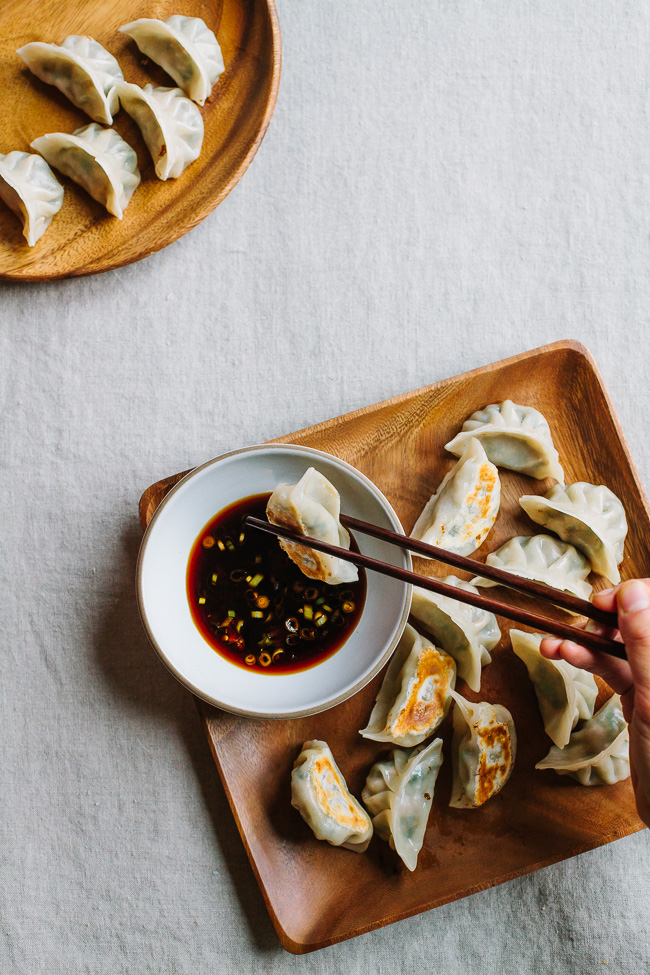
Pork, Chard, and Chive Dumplings
- Prep Time: 1 hour
- Cook Time: 10 minutes
- Total Time: 1 hour 15 minutes
- Yield: 30 dumplings
Ingredients
- 8 ounces ground pork
- 2 cups finely chopped Swiss chard
- ¼ cup sliced scallions
- ¼ cup chopped chives
- 2 teaspoons finely minced ginger
- 1 1/2 tablespoons tamari or soy sauce
- 1 teaspoon sesame oil
- 2 teaspoons rice cooking wine
- 1 tablespoon chicken broth (I often freeze ice cube trays of chicken broth so I always have some handy to make dumplings.)
- 30 dumpling wrappers
- 1 tablespoon grapeseed oil or other neutral tasting oil
Instructions
In a mixing bowl, combine the pork, chard, scallions, chives, ginger, soy sauce, sesame oil, rice wine, and chicken broth. Use hands or a wooden spoon to thoroughly mix together.
Place a heaping teaspoon of pork onto the center a dumpling wrapper. Lightly brush the edges with water to help the wrapper stick together. Fold in half to form a half-circle and pinch the center together. While pinching the center of the seam, use your thumb and index finger to make 3-4 pleats towards the center down the ride side or the dumpling, giving a gentle pinch with each pleat. (Only the top layer of wrapper should be used for pleating, the bottom layer should remain smooth.) Switch hands and repeat the process on the other half of the dumpling. Dip fingertips in water and lightly pinch dumpling seam together to ensure a good seal. Repeat with the remaining wrappers and filling.
Dumplings can now be arranged on a parchment-lined sheet pan and frozen for later use. Once dumplings are frozen, transfer them to a freezer bag for storage.
To cook dumplings, heat a large non-stick skillet over medium high heat. Add 1 tablespoon oil. Carefully place dumplings in the pan, flat-side down, about ½-ich apart, being careful not to overcrowd the pan. Pan-fry dumplings for 1 minute. Add 1/3 cup cold water all at once and immediately cover pan. Reduce heat to medium and allow dumplings to steam for 5 minutes. Uncover pan and pan-fry for another 2-3 minutes, until bottoms dumplings are golden brown and crisp. Repeat process for remaining dumplings. Serve immediately with dipping sauce.

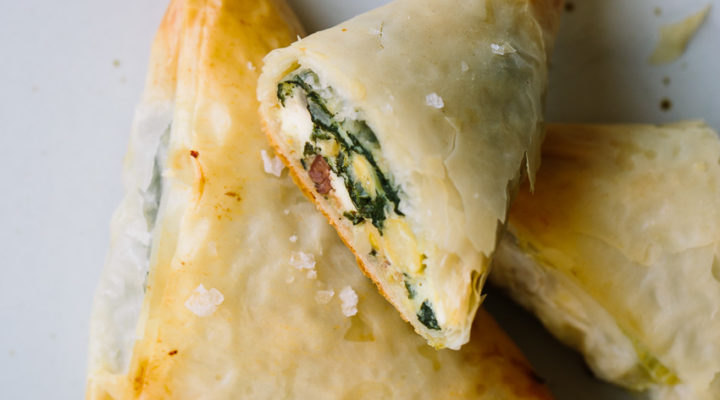 Chard Chickpea Olive Spanakopitas
 Ginger Pear Tea
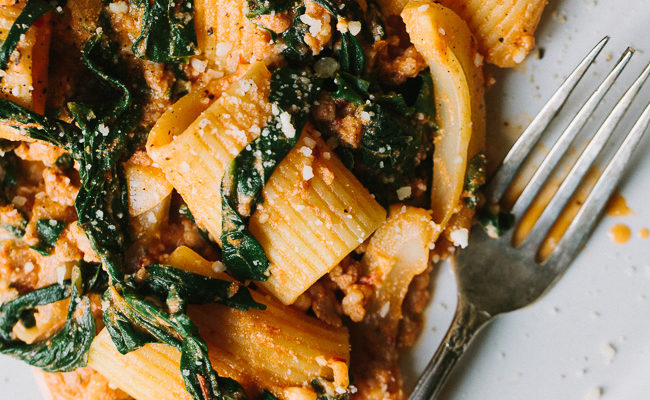 Swiss Chard, Fennel, and Sausage Pasta
littleblackdomicile says
Our kids, and grandkids, could not get enough of these when they were young. One of the grands called them Pot Stickers…and we agreed to disagree on the wording because it was a meal everyone ate without complaints! Never thought to make and freeze…next time I will!-Laurel
Mary Ann | The Beach House Kitchen says
I’ve always wanted to try my hand at homemade dumplings Emily, but just haven’t gotten around to it yet! You’re totally inspiring me! What a wonderful job you’ve done. They look totally perfect. Thanks so much for the step by step tutorial! The filling sounds just delicious too.
2pots2cook says
Glad to see it is not that complicated as I thought. Thank you so much !
★★★★★
Aysegul Sanford says
Oh Emily.. What a great tutorial. I have never made dumplings before, but after seeing this photos, I might give it a try sometime. I love that you can make these with the kids as well. Such a fun family activity. I am sure it also helps make amazing memories.
Much love to you my friend. Happy new year.
Traci | Vanilla And Bean says
Oh my goodness… what perfect little dumplings! The pleats are so pretty and are quite a work of art. That filling and sauce is a perfect accompaniment… I’d make a ton too and freeze them! So delicious Emily!